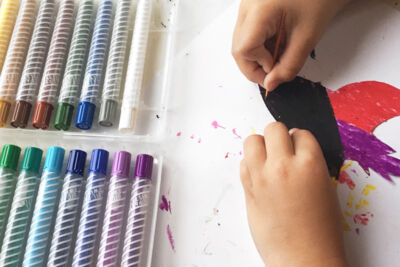
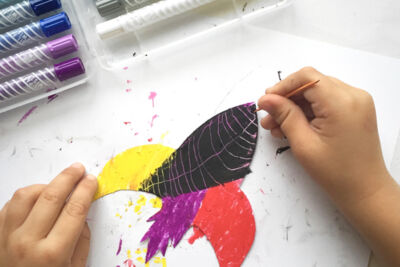
Creating scratchboard art is similar to the methods used for drawing with pen and ink. With pen and ink, you apply black ink to a white paper, using a variety of dots and strokes. With scratchboard, you use a whiteboard that’s covered with black ink and a scratch tool or knife to etch into it. It’s creating an image in reverse by removing the dark to reveal the light background.
Boards usually have a thin layer of fine, white clay covered with a black layer of India ink. The image is created by repeated small lines, marks, and strokes; more scratches equals a lighter look. Create bright white by completely removing the ink.
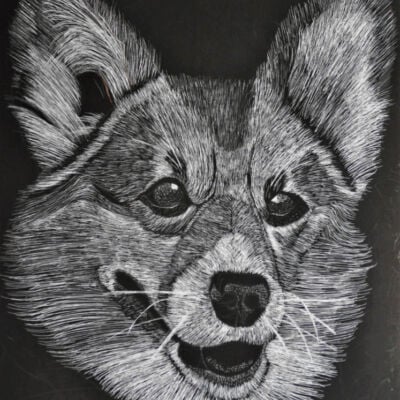
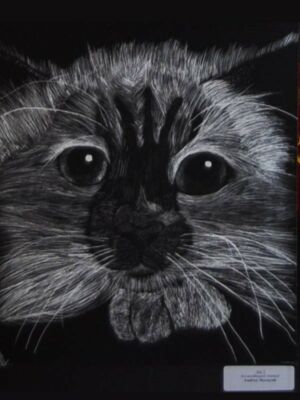
Some of our scratchboard art projects below:
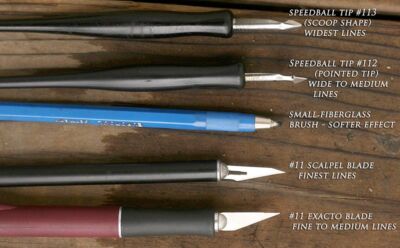
Many tools can be used for scratchboard art, from spoons, pencil erasers to scalpels. One can use one’s imagination to create an interesting effect. Some primary tools are available from art shops for lines and shading, these include:
- Cutting knives
- Scalpels
- Etching needles
- Styluses
- Drypoints
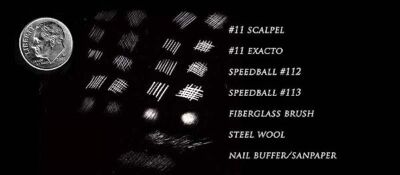
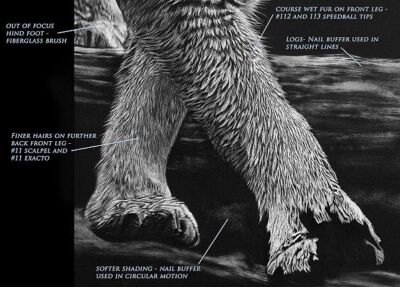
Below are some formal line and shading tools to help create certain effects on scratchboard.
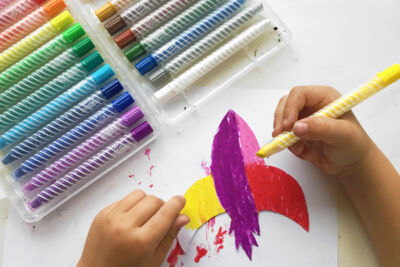
You can create your own scratchboard at home with crayons and ink.
What you will need:
- Posterboard paper
- Color crayons if you prefer a bit of color
- Paper clips or toothpicks
- Black India ink or black tempera paint
How to create your scratchboard:
- Fill the paper with crayon shapes, patterns, and color. Press hard to create a thick layer.
- Paint black India ink or tempera paint over the crayon color
- Plan out your picture with a paper clip or toothpick to reveal the color underneath.
Some great scratchboard ideas for kids:
